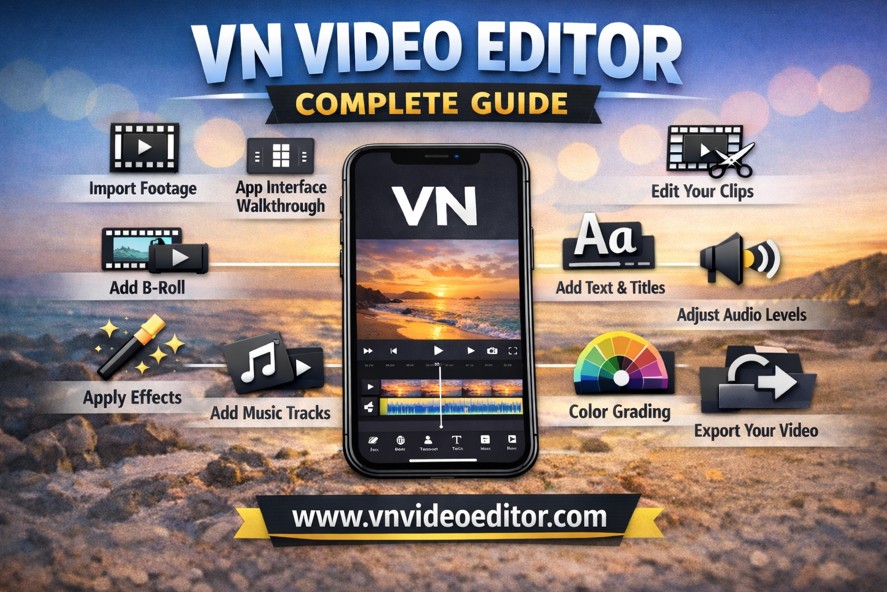
VN Video Editor is a free mobile and desktop video editing app designed for both beginners and advanced creators. It offers professional-level editing tools without watermarks or hidden fees. Unlike many other free editors, VN gives you access to advanced features such as multi-layer editing, keyframes, speed curves, color grading tools, transitions, effects, and precise timeline control.
One of the best things about VN Video Editor app is its balance between simplicity and power. Beginners can easily trim clips, add music, and export videos within minutes. At the same time, experienced editors can create cinematic videos using advanced tools like keyframe animation, overlays, and color adjustments.
VN Video Editor is available for Android, iOS, Windows, and Mac, which makes it flexible for creators who work across multiple devices.
How To Import Footage On VN Video Editor
Importing footage is the first step in any video editing project. VN makes this process very simple.
First, open the VN Video Editor app on your device. On the home screen, tap the “+” button labeled “New Project.” This will open your device’s media library.
You can now select the video clips you want to use. You can select one clip or multiple clips at the same time. Once you finish selecting, tap the arrow button to import them into your project.
VN will automatically place the clips on the timeline in the order you selected them. From here, you can rearrange the clips by tapping and dragging them into a new position.
This simple import process allows you to quickly start building your video.
VN Video Editor App Interface
Understanding the interface is important because it helps you work faster and edit more efficiently.
The VN interface has three main sections:
Preview Window:
This is located at the top of the screen. It shows your video in real time as you edit. You can play, pause, and preview changes here.
Timeline:
The timeline is located at the bottom of the screen. This is where your video clips, audio, text, and effects appear. You can trim clips, split them, and adjust their position on the timeline.
Toolbar:
The toolbar contains editing tools such as Trim, Split, Delete, Text, Effects, Music, Filters, and Speed. These tools allow you to modify your video.
The clean and organized layout makes VN easy to understand, even if you have never edited a video before.
How To Edit In VN Video Editor
Basic editing includes trimming, cutting, and arranging clips.
To trim a clip, tap on the clip in the timeline. Drag the edges inward or outward to shorten or extend the clip.
To split a clip, move the playhead to the position where you want to cut. Then tap the “Split” button. This divides the clip into two parts.
You can delete unwanted parts by selecting the clip and tapping the Delete button.
You can also rearrange clips by dragging them left or right on the timeline. This allows you to control the flow and storytelling of your video.
These simple editing tools help you build the foundation of your project.
How To Add B-Roll In VN Video Editor
B-roll footage adds visual interest and makes your videos more engaging. It can include close-up shots, environment shots, or supporting visuals.
To add B-roll, tap the “Overlay” button in the toolbar. Then select the video clip you want to use as B-roll.
VN will place the B-roll clip on a layer above your main footage. You can adjust its length and position on the timeline.
You can also resize and reposition the B-roll in the preview window. This is useful for picture-in-picture effects.
B-roll helps improve storytelling and makes your videos look more professional.
How To Add Text In VN Video Editor
Text is useful for titles, subtitles, and captions.
To add text, move the playhead to the desired position. Tap the “Text” button, then tap “Add Text.”
Type your desired text in the text box. VN provides many font styles, colors, and animation options.
You can resize the text by dragging the corners in the preview window. You can also move it to any position on the screen.
Text animations help your videos look more dynamic and engaging.
How To Add Effects In VN Video Editor
Effects enhance the visual appearance of your video.
To add effects, tap on the clip in the timeline, then tap the “Effects” button.
VN offers many built-in effects such as glitch, blur, zoom, shake, and more.
Select an effect and adjust its intensity if needed. Some effects work best for transitions, while others enhance mood or style.
Effects should be used carefully to avoid making the video look too busy.
How To Add Music In VN Video Editor
Music adds emotion and energy to your video.
Tap the “Music” button in the toolbar. You can choose music from VN’s built-in library or import music from your device.
After selecting the music, VN will place it on the audio track.
You can trim the music and position it to match your video.
Music helps create a professional and emotional viewing experience.
How To Adjust Audio Levels In VN Video Editor
Audio balance is very important for video quality.
Tap on the audio clip in the timeline. Then tap the “Volume” option.
You can increase or decrease the volume using the slider.
If your video has voice and background music, reduce the music volume so the voice remains clear.
You can also mute unwanted audio completely.
Proper audio adjustment makes your video easier to watch and understand.
How To Color Grade In VN Video Editor
Color grading improves the visual quality of your video.
Tap on the video clip, then tap the “Filter” or “Adjust” option.
VN allows you to adjust brightness, contrast, saturation, temperature, highlights, and shadows.
You can also apply built-in filters for quick color enhancement.
Color grading helps create a consistent and cinematic look.
Even small adjustments can make a big difference.
How To Adjust Video Speed In VN Video Editor
Speed adjustment helps create slow-motion or fast-motion effects.
Tap on the video clip, then tap the “Speed” button.
You can increase speed to make the video faster or decrease speed to create slow motion.
VN also provides curve speed control for advanced speed effects.
Speed adjustment adds creativity and enhances storytelling.
How To Export Videos In VN Video Editor
Exporting is the final step after editing your video.
Tap the “Export” button at the top of the screen.
You can choose resolution, frame rate, and bitrate. Higher settings provide better quality but increase file size.
For most social media platforms, 1080p resolution and 30fps works well.
After selecting settings, tap Export. VN will process and save your video to your device.
You can now upload your video to YouTube, TikTok, Instagram, or any platform.
Final Thoughts
VN Video Editor is one of the best free video editing apps available today. It combines powerful features with a beginner-friendly interface, making it suitable for everyone. Whether you want to create simple social media videos or professional cinematic content, VN provides all the tools you need.
With practice, you can use VN Video Editor to create high-quality videos directly from your phone or computer. Its flexibility, advanced features, and ease of use make it an excellent choice for modern content creators.
If you are serious about improving your video editing skills, VN Video Editor is definitely worth using.